


Indexing images for The Sandbox implementation
In this documentation you will learn how to implement images in great detail in a fast way within The Sanbox
The mission
One of the most common problems we encounter when working in The Sandbox is the resolution at which we work.
Generally, the most common resolutions are 32x32, 64x64, and so on.
With this in mind, our goal is to be able to extract as much detail as we can from a larger, more complex image (e.g. 1024x1024) and implement it within the engine.
Resources
- Photoshop
- MagicaVoxel
- VoxEdit
- The Sandbox Game
Workflow
The process is relatively straightforward but there are many things to keep in mind. The workflow (simply explained) is as follows.
Search for images that we want to index, their format has to be .png (We will use search engines like Pinterest).

In case it is not a format like .png, we will transform the image to these formats.
We check that the images are not copyrighted images.
After this, we will open Photoshop and load the image.

The resolutions at which The Sandbox works natively are 512x512, 256x256, 128x128, 64x64, 32x32.
For this example we will use 256x256.
To reduce the size we will use "Image Sice".

In case the image is not square, uncheck the chain icon to give it the correct size.

Once we have the size we are going to use, we will index the image. To do this, go to the “Mode / Indexed Color” section.

One thing to keep in mind is that the image has to be 8Bits/Channel. In case it is 16 bits or 32 bits, we will select 8 Bits.
This change has hardly any impact, especially considering the final sizes and qualities we are looking for.
Once here, the "Index Color" window will appear.
Here you can find the number of colours in that image, what kind of palette it uses, as well as the option to preserve the exact colours of the image in case you need them.

It is usually used for complex images
To index the image correctly, select "Local (Percentual)" for correct indexing.

Generally the best quality is found in 64 colours. We can use more, but that number is more than enough.

Now, with the correct amount of colours, we will go to the "Custom" section.

A new window called "Color Table" will open.
Here, we will check that the colours are similar to the original image, if it is correct, we will click on save.

This will generate a document with the extension ".ACT". This palette is the one we will take to any program that can use it. In this case, we will use it in MagicaVoxel.

This process is the most complex of all. But it is finished! Now we can move on to the fun part 🐒
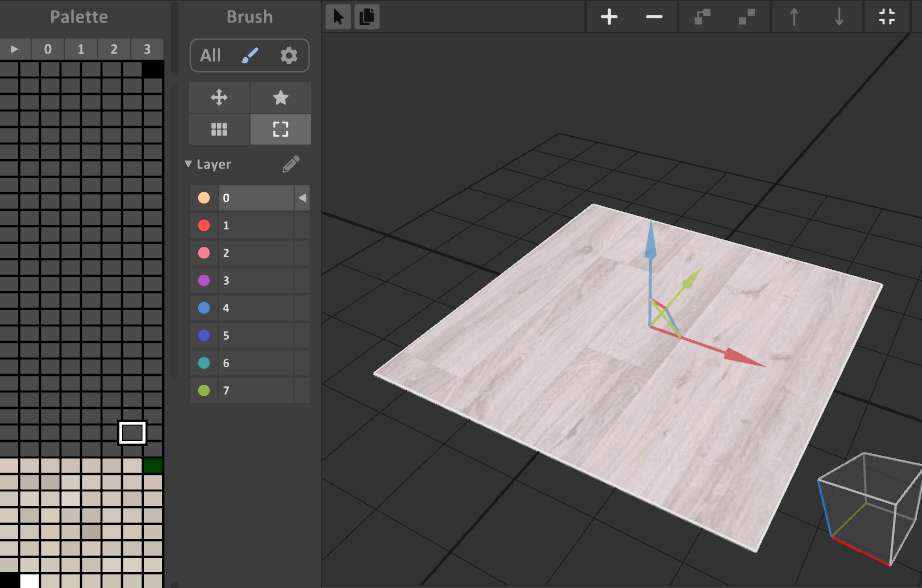
The best scenario in which we can make use of this image is in MagicaVoxel. In this program we will generate texture-based objects with indexed colour palettes.
To make use of .ACT it is as simple as dropping it into the palette section.


To use the image as an object, it is as simple as dragging it to the centre of the program.
In case we do not import the colour palette before including the image, it will appear incorrectly.

Conclusion
This is just a short introduction to image indexing. The most interesting thing about it is that we can scale it to infinity.
We can combine images, create trim sheets and even create objects directly in Photoshop / Substance Designer and include them in our Voxedit projects.
One very interesting thing about this technique is that it allows us to extrapolate any trim to create complex objects from these indexed textures.
In the future, I will create more documentations talking about this topic and I will link them to this publication, as they are two things that go hand in hand.


